

Android phones and tablets are chock full of great features, but that’s both a blessing and a curse. There’s probably a lot of things you don’t know about, and maybe even some things you’re doing wrong. Let’s fix some mistakes.
Closing Apps Too Often
Being Too Generous With Permissions
Not Using a Third-Party Home Screen Launcher
Installing an Antivirus App
Not Exploring the Hidden Developer Options Menu
Keeping Bloatware on Your Device
Not Checking For App Updates Regularly
Not Enabling Automatic Dark Mode and Night Light
Not Scheduling Do Not Disturb For Nighttime
Using Cheap, Potentially Unsafe Accessories
Closing Apps Too Often
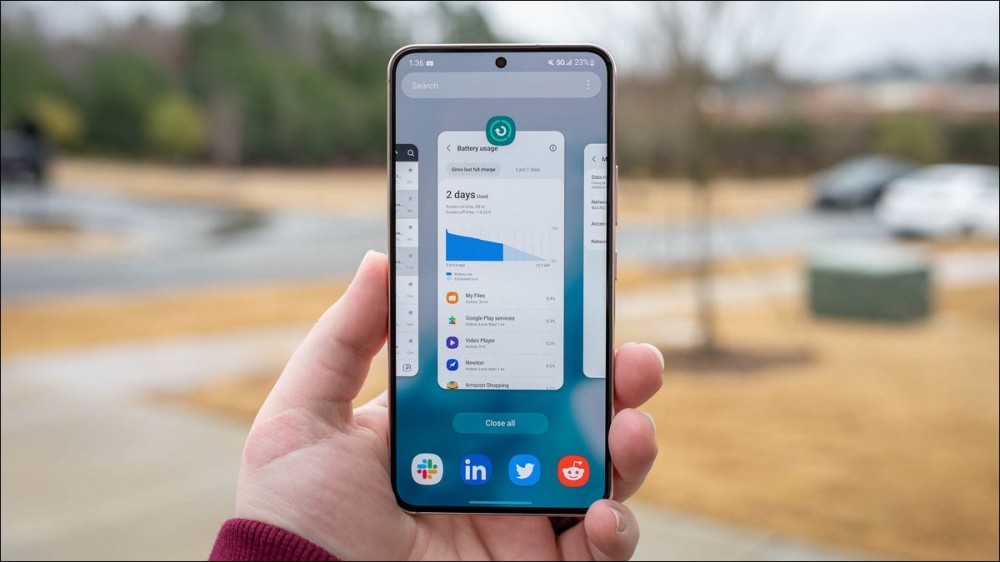
One of the biggest Android myths is that closing apps improves battery life. This has simply never been true, and it can actually do more harm than good. While it may seem like common sense, especially if you’re used to a desktop operating system, it’s not necessary on an Android device.
Android is designed to manage running apps in the background for you. When resources are needed, it will automatically close apps that haven’t been used in a while. If you close every app when you’re done with it, they always need to start up fresh, which requires more power and resources.
You should only force close Android apps if they’re misbehaving. Otherwise, it’s a much better practice to keep your hands off and let Android do its thing.
RELATED: Stop Closing Apps on Your Android Phone
Being Too Generous With Permissions
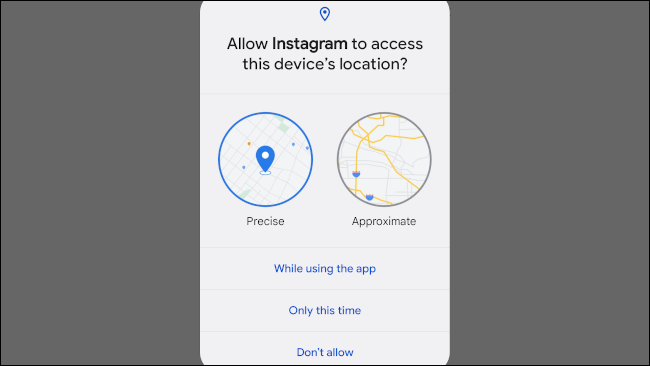
Android apps can request a wide variety of permissions—everything from location to body activity. It’s easy to be too lenient with permissions—apps certainly try very hard to get access—but it’s always better to err on the side of caution.
For example, for location access, you have the option to choose between “Precise” and “Approximate” location. You should always go with “Precise” whenever you can. Another good practice is to give apps temporary permissions. Choose “Only This Time” if it’s something you’re not going to use often.
Thankfully, Android has built-in features to protect you against apps that abuse permissions, but you can protect yourself as well. It’s easy to check up on which apps are using which permissions.
RELATED: How to Manage App Permissions on Android
Not Using a Third-Party Home Screen Launcher

Almost everything on Android can be swapped out for a third-party alternative from the Google Play Store, even the home screen. Third-party home screen launchers offer much more personalization options than the default launcher from your phone’s manufacturer.
A couple of our personal favorites include Nova Launcher and Niagara Launcher. Nova is great if you want a ton of personalization and settings to play around with. Niagara features a minimal design that’s especially nice on large phones.
Open the Play Store and do a search for “home screen launcher.” You’ll find a ton of apps to choose from. It’s easy to change the default launcher—usually the app will guide you through it. Go explore!
RELATED: How to Set Default Apps on Android
Installing an Antivirus App
As the most popular operating system in the world, Android—like Windows—is naturally a big target for viruses and malware. You might think that means you need to install an antivirus app on your Android phone. You don’t.
Android has several layers of built-in protection to keep your device safe from malicious attacks. First and foremost, unlike a PC, you’re probably only downloading apps from a centralized app store—the Google Play Store.
Apps that are published in the Play Store are judiciously scanned for malware by Google Play Protect so you can feel safe downloading them. In fact, even if you sideload Android apps from outside of the Play Store, they’re still scanned to identify malware. Play Protect also keeps an eye on your browser.
In short, the vast majority of people don’t need to worry about using an antivirus app. Simply stick to the Play Store and listen to your browser when it says a site seems suspicious, and you’ll be fine.
RELATED: Does Your Android Phone Need an Antivirus App?
Not Exploring the Hidden Developer Options Menu
Android has a hidden menu called the “Developer Options.” As the name implies, most of the stuff in this menu is for developers, but there are some features that the average person may find useful too. You should give it a peek.
For example, you can force all apps to use Dark Mode, speed up animations to make your phone feel faster, open a Windows-like task manager, turn off mobile data when you’re using Wi-Fi, and more. Even if you don’t find something to use, it’s worth exploring.
RELATED: 10 Things You Can Do in Android’s Developer Options
Keeping Bloatware on Your Device
Your Android device most likely came with a bunch of pre-installed apps. While some of these apps may be genuinely useful, or apps you would have installed anyway, some devices are plagued with bloatware from the carrier and sponsorship deals. You don’t have to live with these apps using up space on your device.
Android makes it easy to uninstall the vast majority of apps and games—even those that came pre-installed by the phone manufacturer or carrier. Even if an app can’t be uninstalled in the traditional way, there’s a good chance you can “Disable” it, which prevents it from appearing anywhere and running in the background.
RELATED: How to Get Rid of Bloatware on Your Android Phone
Not Checking For App Updates Regularly
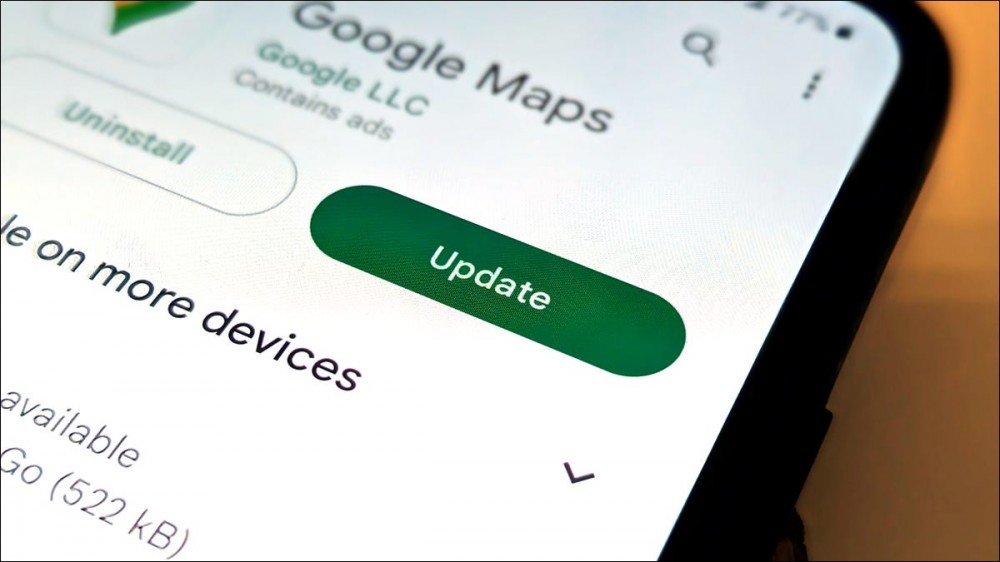
It’s important to keep Android apps up to date. This ensures they run properly with any bugs or security flaws squashed and patched. The Google Play Store offers a few different ways to make sure apps stay up to date.
First, you can simply manually check the Play Store for app updates regularly. This is always a good idea, and you can update a bunch of apps at the same time. Enabling automatic updates is a good idea as well. You can mostly just forget about app updates if you use the automatic method, but it’s still a good idea to check in once in a while.
RELATED: How to Update Apps on Android
Not Enabling Automatic Dark Mode and Night Light
Blue light might not be as big of a deal as we think, but there’s no denying that a bright phone screen is hard to look at when you’re in a dark environment. Android has multiple features aimed at reducing eye strain at night.
First, Android’s system-wide dark mode can put the entire UI and many apps into a white-text-on-black-background theme instantly. You can even make dark mode turn on automatically at sunset, which we highly recommend.
Dark Mode changes the theme, but it doesn’t address the blue light situation. For that, Android devices have a feature called “Night Light” or “Eye Conform Shield.” This changes the color temperature of the display to be more orange, counteracting the blue light. Like dark mode, it can also be turned on automatically at night.
RELATED: How to Enable Night Mode on Android to Reduce Eye Strain
Not Scheduling Do Not Disturb For Nighttime
There’s nothing more annoying than an unwanted notification waking you up when you’re sound asleep—so don’t let it happen. Every Android device has a feature called “Do Not Disturb,” and you should set it up to automatically turn on when you’re sleeping.
This doesn’t mean you’ll be completely sealed off from the outside world when you’re sleeping. There are probably certain people and apps that you want to be able to contact you at all times. “Do Not Disturb” can allow exceptions to break through, while keeping the unimportant notifications sidelined.
Whether you have a Google Pixel phone or a Samsung Galaxy device, you should take some time to set up “Do Not Disturb” and make it turn on automatically. Do it once, and you’ll be happy you did.
RELATED: How to Set up Do Not Disturb on Samsung Galaxy Phones
Using Cheap, Potentially Unsafe Accessories
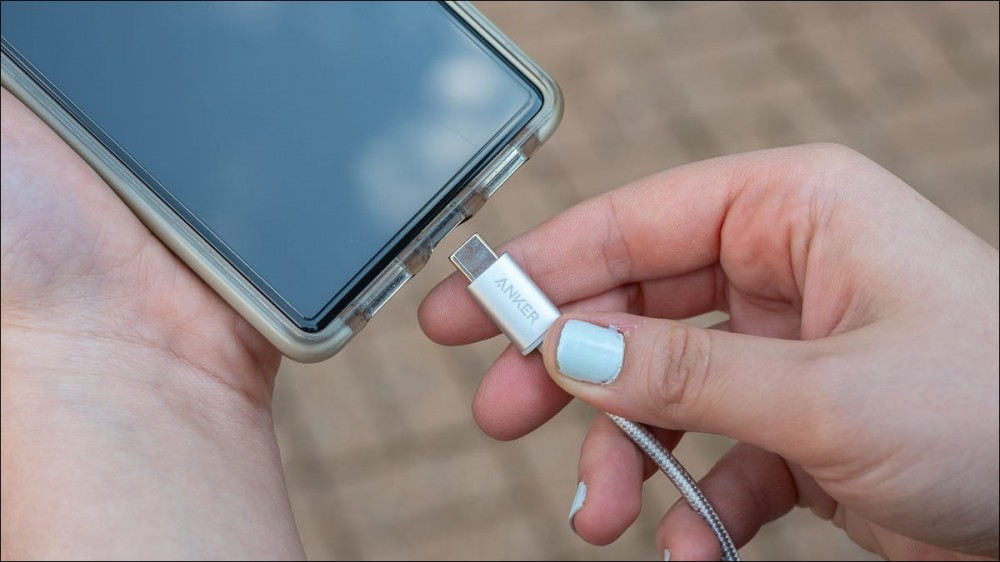
Your Android phone probably came with at least some accessories—a charging cable and a wall adapter (if you’re lucky)—but you might want to have more around the house. With so many cheap accessories on Amazon, it’s very easy to get a bad one.
This is especially something to think about when it comes to USB-C cables, which the vast majority of Android devices use for charging. USB-C was supposed to be great—and it usually is—but there are still some issues with it. The wrong USB-C cable could fry your device, which is why it’s so important to look for USB-IF certified accessories.
It’s not only about safety, either. The wrong cable could mean you’re missing out on the Fast Charging benefits of your device. Fast Charging doesn’t work with just any ol’ charging cable. You need to get one that supports the Fast Charging capabilities of your phone. Make sure you’re getting a good one.
The Best USB-C Cables of 2023 
Anker New Nylon USB-C to USB-C Cable
$13.99 ![]()
Amazon Basics USB-C to USB-A Cable
$12.37 ![]()

Grtoeud USB-C to USB-C Cable
$25.98 ![]()
Anker Powerline III USB-C to USB-C Cable
$9.99 ![]()
Anker New Nylon USB-C to Lightning Cable
$17.99 ![]()
Uni USB-C to HDMI Cable
$14.39 ![]()
$23.99 Save 40%
Cable Matters Premium Braided Aluminum USB-C to 3.5mm Aux…
$7.99 ![]()
Spigen DuraSync 3 in 1 Universal Charger Cable
$17.99 ![]()
$24.99 Save 28%
Belkin Thunderbolt 4 Cable
$44.99 ![]()